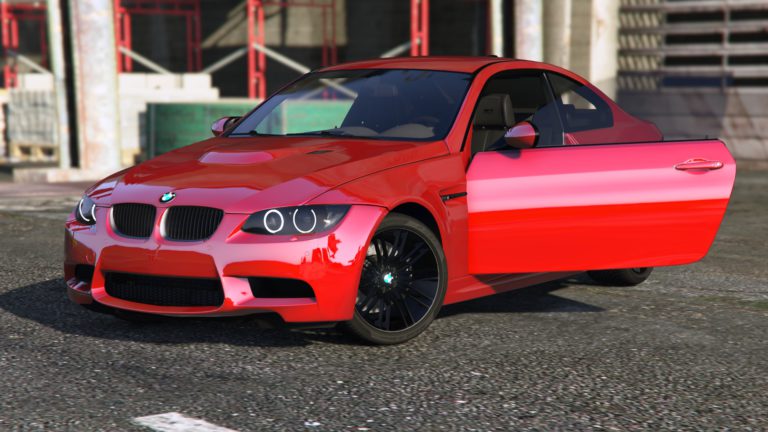
In order to get straight to work, we're going to start by quickly sorting all our components (note that you won't have the same component names as I do, as they are different for each vehicle), because as you can see there are quite a few of them (there are far fewer vehicles in GTA San Andreas and GTA IV) !

- Start by simply expanding your view modes like this, so that you only have two very large ones: use the top one as the left view (left) and the bottom one in 3D. Click on the " Fit Click on the "View" button of each mode to see your vehicle in its entirety in each mode:

- If you don't have the same visual rendering of your vehicle as I do, check the boxes below for all views. EXCEPT 3D view. Please refer to the second image for the 3D view:

For the view 3D :

There are now TWO procedures available: you can either locate the components by hiding the whole vehicle and then ticking them off one by one. Or you can leave everything on display and isolate the components one by one to locate them. Work with the technique you're most comfortable with.
To identify components by hiding them and making them appear one by one :
- Click on the " Hide all "Click on the button at the bottom right of the screen:

- Now tick the components on the right one by one to make them appear and see what they correspond to (If you can't find a component, for example because it's too small, click on the " " button. Fit "at the top right of each window to center it) :

For example, here I'm displaying the " suspension "and I see that the 3D part represents the suspensions (not all models have the correct part names). So I'm going to rename this room (by re-clicking on its name after having already selected it once) so I can remember it later and attach it to something, because we're not going to leave it alone. I'm going to attach it to the body of the car ( " bodyshell "in the game script, so I'm already calling it " bodyshell " ).
- Now hide the component you've just renamed, then display the next one and do the same until you reach the end of the list.
To locate components by isolating them one by one :
- Make sure all your components are displayed on screen (therefore checked), if not click on the " Show all " :

- Then select a component and click on the " " button. Isolated " :

- See what this part corresponds to on the screen:

No need to uncheck the " button. Isolated "To continue, select another component, see what it corresponds to and then rename it. Do this until you reach the end of the list.
Do this for ALL parts
Give the same name to the parts that are to be attached together. Example Right-hand door handle, right-hand door inner side, right-hand door outer side, right-hand door mirror... ALL these elements go together and become one. Name them, for example P_right " (or as you like, it's only temporary).
When you have finished sorting, move all the items that go together to put them in a row (optional but easier to work with) (to select several at once, hold down the CTRL key then click on the components to be selected OR select one, hold down the SHIFT key then select another one lower down or higher up for rapid group selection). Your hierarchy should look something like this (here, as you can see, each door is in several pieces) :

Once you've sorted your components, you'll need to link them together.
- Click on the " Hide all " :
- Now show only the components to be linked together by ticking them (left front door here) :

- Select "View" mode User "then set it to full screen (by clicking on the button at the top right of the view) :

- Now take the " Attach "tab. Modify " :

IMPORTANT BEFORE ATTACHING ANYTHING:
In Zmodeler 3, a single object must NEVER exceed 64,000 polygons. When parts are detached, there's nothing to worry about, but if the total number of parts to be attached together exceeds 64,000 polygons, you must not attach them all together. Firstly, to check the number of polygons in a set, select all (this is the front left door), all the boxes in front of the object names will turn blue and the model red, in view mode. Go to the "Properties" menu and check the number of polygons, in this case 12,725.
► IF THE NUMBER OF POLYGONS IS GREATER THAN 64,000:
You'll need to separate the parts to end up with several components (example: for a component with a total of 130,000 polygons, make 1 component with 30,000 polygons and 2 others with 50,000 polygons.). To make your groups, hide a few parts until you have a set of less than 64,000 polygons, then rename them (if it's a highly detailed engine, for example) in "moteur_1", hide them, bring up the rest, select them, check the number of polygons and then name these parts "moteur_2". Finally, after attaching the parts, you'll end up with two parts: "moteur_1" and "moteur_2".

- Now click on one part and then on a second with the arrow to merge them. Select your merged part, then link it to another, and so on until you have a single part. To select a part in the background, press the " " key. CTRL "on your keyboard (if nothing happens, it's a small bug: simply move the camera by clicking on the wheel of your mouse while moving it a little and try again). You can also check the Semitransparent "In the view mode settings, you can see the components transparently:

- My multi-part door is now a single component:

Detaching components is much simpler than attaching them - you don't have to worry about a thing. As mentioned above, it will be necessary to detach windows from doors on GTA San Andreas vehicles, for example.
SIMPLE detachment :
- If you wish to detach an element that is far from another, it's very simple: bring up your part and hide all the others, click on the polygon selection mode and then click on your object, it will then look like this:

Here I'm talking about the windows on the inside of my car, which are part of the same component. I want to remove the front windscreen. As you can see, there's a gap between it and the other windows.
- Once selected, the polygons turn orange:


- Now take the " Detach "tab. Modify "Then click on a selected polygon (it must be yellow on mouse-over before clicking) :

After clicking, the selection mode returns to " Object "This is done automatically, and the detached piece ends up at the very bottom of the hierarchy.
More COMPLEX detachment:
If there's no space between the components you want to detach, you'll have to do it differently. As with the simple method, start by choosing the selection tool polygon and click on your part. Switch to view mode User "or " Perspective " (mode User "For example, if you want to zoom in on the steering wheel from above, but there's a roof, you'll only get a very close-up of the roof. The " Perspective "If you zoom in on the steering wheel, the camera will pass through the roof.) depending on the context, it's up to you to choose which mode to use.
- Now select the " Separated "tab. Select " (as an example, I'm going to detach a door window from a GTA San Andreas vehicle.), orient the view so that you can see your object clearly, in "view" mode. User "or " Perspective " :

- Right-click on a polygon of the part to be detached (here the glass) when the polygon turns blue. If you select a polygon by mistake, press back (CTRL + Z doesn't work on Zmodeler, use the blue arrow at the top of the screen or the return key on your mouse if it has one.) or hold down CTRL and right-click again to deselect the whole set. You will often need to click on several polygons before you have the whole set selected. To select a polygon in the background or one that does not turn blue, press the CTRL (if nothing happens, it's a small bug: simply move the camera by clicking on the wheel of your mouse while moving it a little, and try again).
- Once you've selected the entire area to be detached, select the "Detach" tool. Detach "tab. Modify "Then click on one of the orange polygons:

After clicking, the selection mode returns to " Object "This is done automatically, and the detached piece ends up at the very bottom of the hierarchy.
 English
  Français