Introduction
We're nearing the end! Now we're going to export our vehicle and install it in-game. Two installation options are available
The "Replace" installation simply replaces one of the game's vehicles with our own.
Add-on" installation, as the name suggests, consists of adding our vehicle to the game's existing vehicles, basically like DLC.
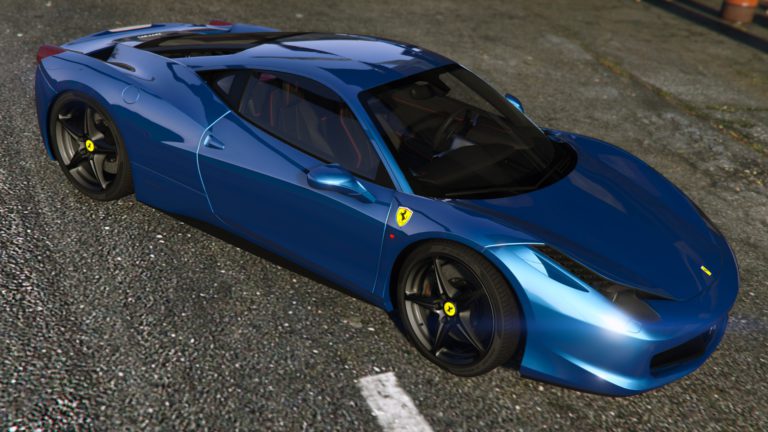
Install the vehicle as a replacement for an existing in-game vehicle
Replacing an existing in-game vehicle can have its advantages and disadvantages. add-on than a replacement, as you may need to edit several other files that you'll have to search all over the place to be able to use your vehicle the way you want.
This part of the tutorial is available as a video, which is much simpler than the written word. Everything is explained
Installation starts at 4:06
Install the vehicle as an add-on / DLC / vehicle add-on without replacing it
In GTA 5 modding, we often replace in-game vehicles with modded ones made by ourselves or the community, but it's also possible to add vehicles in the same way as Rockstar does with its DLC.Add-on.
Many people prefer to add a vehicle to a replacement, simply because it allows them to have more vehicles, and installation is simpler and quicker.
If you're a modder, I advise you to provide a DLC version as well as a replacement version in your archive when you publish your vehicle.
Although it sounds complicated, creating a pack or a simple vehicle is very quick and not particularly difficult.
I provide you with a kind of " Template "Simply edit the files and add your vehicle(s).
This is possible with the :
-Customized vehicle handling
-Vehicle sound, model, make, type, category
-Speedometer type
-Civilian vehicle or police / fire / swat...
-Tuning parts
-Position in vehicle
And much, much more!
Follow the whole video to make sure you don't NOTHING forget it! The slightest error will cause the game to crash. Don't forget to download my patch " Add-on crash fix "to prevent the game from crashing.
I'm only showing the basics, so as not to complicate the tutorial and simply have a functional vehicle. I'm not talking about tuning parts, as this complicates things quite a bit. I'm also skipping the details, as you can change a lot of things: the color of the lights, the color of the exhaust smoke, the weapons you get when you enter the vehicle, the color of the appearance, the neighborhoods in which it appears, at what times and with which NPC at the wheel... etc....
Files to download :
DLC base (available in the ESSENTIAL MODDING PACK)
Add-on crash fix
 English
  Français