All these elements are to be retrieved from a vehicle in the game, which we have done on page 8 of this tutorial when we placed them in a Dummy Helper (collect all handle_ "and the " doorlight_ "Then place them in the Dummy Helper. You can then delete what's left of the doors by right-clicking on them and then " ". Delete " ).
We can now pick them up and place them on our vehicle. The only two dummies we won't be touching right away are seat_dside_f and seat_pside_fThey are used to activate the steering wheel rotation.
- Display all elements by clicking on Show All " :

- Then select the Move " :

- Now select the first script dummy in your list (to know more " platelight " at home) then click on " Isolated " :

- On view mode left select it by framing it, and it will turn pink:

- Now remove the insulation and place the dummy where it should be on the car, in my case above the license plate (help yourself to the views left, top or front if necessary) :

- Deselect the dummy by simply framing an empty area next to it.
Now continue in the same way with the other dummies, placing them as follows for each element:
Inside, in the center of the dashboard, a few centimeters above:

There may be several exhaust pipes (exhaust_2, _3,...) if you need more, use the " Copy "Click on one to duplicate it and add one more number to the back. If there's only one escapement, name it "exhaust", NOT "exhaust_1:

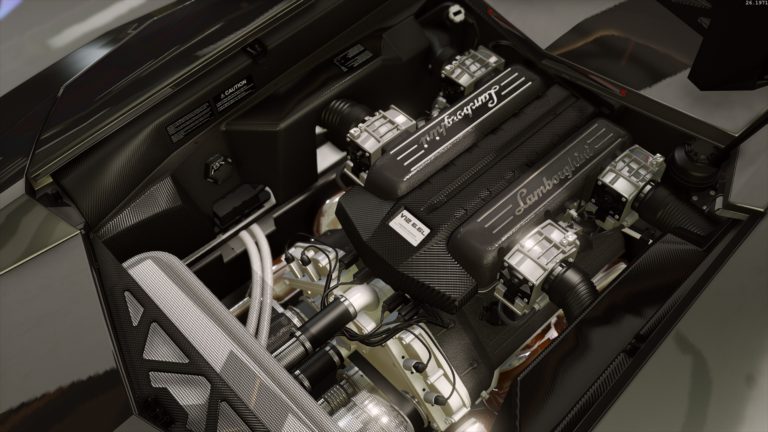
Right in the middle of the engine (front or rear, depending on the car):

Inside on the rear seats (slightly above the seats) :

Front grille if the engine is at the front, rear vents if the engine is at the rear:

Inside in the center of the car under the ceiling:

At the rear of the vehicle on one corner of each side:

On each door handle:

In the bottom corner of each door:

- Now that all the dummies are in place, all that's left to do is select them and drag-and-drop them into the frame. EXCEPT " seat_dside_f " and " seat_pside_f " (hold down the CTRL to select several at once) :

- Once in the chassis (the location doesn't matter - you can place them wherever you like) it is necessary to put certain dummies in compounds, for example " platelight The "dummy" has to go into the trunk, since the dummy has to move with the trunk when it opens, and the same goes for the door handles and lights, which have to go into the door dummies:

 English
  Français