I'm providing you with a kind of mod publication folder template, the one I use for all my mods. In it, you'll be able to place the replacement version, the add-on and the template for custom skins, if you've made one. This template is available in the ESSENTIAL MODDING PACK.
The files INSTRUCTIONS are written in English, as most players understand English. Even if you have difficulties, you don't necessarily need to understand everything, just replace the items to be edited as indicated.
To fill your folder, simply place the various files in the indicated locations and then edit the files. INSTRUCTIONS. To simplify your work, everything is already pre-filled: simply open the files INSTRUCTIONS one after the other and replace the capitalized words with your own (vehicle name, creator, dlc name...).
Here's an example of the instruction file for the add-on version of a vehicle:

I strongly advise you to leave this passage as it redirects to the add-on mod to prevent the add-on version from crashing the game (mod discussed on page 19) as well as another mod to suppress the glow above the lights, which is often poorly placed and spoils the look of the vehicle:

A paragraph explains how to use the template to make your own custom skins. If your vehicle is not compatible, simply delete this step from the text file. The "NoTemplate" texture for restoring the original vehicle without custom skins is provided in the :

For the replacement version of the vehicle there are some optional extra steps that are often better to do: editing the handling, engine noise, which meter to use or the player's position in the vehicle:

If your vehicle contains a template, place it in the TEMPLATEotherwise delete the folder.
Once your folder is complete, create a new folder and name it ". MAKE & MODEL by YOUR_NAME " Place all subfolders in this folder.
Now use the method presented in THIS VIDEO in order to compress your mod as much as possible and have an archive to publish that's 3 times lighter.
Your mod is now ready for publication!
I strongly advise you to publish your mod on the site number 1 modding on GTA 5: gta5mods, click here to access it. The site is available in all languages, the categories are very well thought out, you will find absolutely everything on this site easily!
To publish your mods, simply create an account and click on the " " button. Upload a file " :

On this page, enter the name of your file and, in brackets, specify some of your vehicle's strong points, for example in my case: " Lexus GS 350 [Add-On / Replace | Tuning | Template] " , (don't spam too much, just put a few key elements between the braces!). Select the vehicle archive you created earlier (if it's over 100Mb, publish it on a host like Mega, then place the link in an archive that you'll upload, and the administrator will take care of the download.). Add up to 18 screenshots, and I'll be back to teach you how to make quality ones further down this page.
In the " Author "You can specify several different names, depending on whether you've collaborated with another modder, for example.
The category we are interested in here is Vehicles " .
Also include a few " Tags " Put the make and model of your vehicle and a few of its strong points.
Then type a description, following the advice below.

The description is very important to make people want to download your vehicle! Don't neglect it, and give all the information about your vehicle, special features, tuning parts if any, and any bugs. Type it in English to make it accessible to as many people as possible. Even if the site is multi-lingual, the descriptions are not translated.
A sentence at the very top that quickly informs the interested party which vehicle is to be replaced is always interesting. Inform people that instructions are available in great detail for the add-on or replacement version. The instruction file is also useful for using the template correctly.
Then add the " Features " list all the important features of your vehicle. If it has tuning parts, list them in a separate paragraph.
Don't forget the credits! Always quote the main author of the 3D model or the game from which you took it.
To bold elements for a cleaner look, as in the example below, use tags HTMLto put, for example, the word " Template "in bold type Template " . You can also use other tags HTMLthe list of authorized ones can be found under the description editor.

Once you have filled in all the fields, click on the " " button. Submit file " It will then await validation by a site administrator or moderator. A notification will be sent to you when your mod goes online.

Once the mod is online, you can edit it by going to the mod page and clicking on the "Edit" button. Edit file " :

You can then change the screenshots, upload a new version of your vehicle or edit the description. If you make changes to the vehicle, change the file version to 2.0 for example, then create a " Changelog "You'll then be asked to review the new version once again, before it is updated and publicly validated. The new version will then be submitted for review once again before being updated and publicly validated:

Screenshots are extremely important, as they're what's going to attract the public to your vehicle. The main photo of your mod is the most important.
To make high-quality screenshots, use a graphics mode to make your game more beautiful. I use and recommend PhotoVision ✯ which is available exclusively on my site at THIS LINK.
The best thing to do is to record a sequence with the Rockstar Editor, then go to the editor and use the free camera, zoom in on your vehicle and frame it so as to get a nice photo, blur the background... etc. Then click on the right joystick to hide the ATH and then capture your photos with screen capture software such as Action Mirillis or even Fraps (the best remains Action Mirillis, Fraps compresses images). Capture in .JPEG for smaller files that can be uploaded to the site. You can use up to 18 of them.
Take photos of every detail, engine, interior, front, rear... etc. Everything must be perfect. For photos of the interior and engine, I suggest you install CE MOD which lets you enter Benny's Motorworks in solo mode. Inside the latter, the lighting is unique and enhances your vehicle and its details. Don't hesitate to play with the weather with the help of a trainer. Find beautiful and original places to photograph your vehicle.
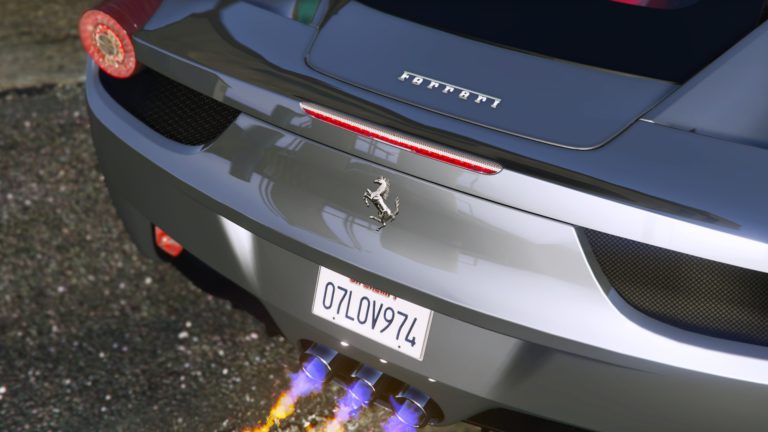
Since the beginning of this long tutorial, you've been able to see some beautiful photos at the top of each page. To see more, go to my profile gta5mods.
 English
  Français