Introduction
On this page we'll see how to turn the steering wheel and also how to get the character's hands on it correctly.
The axis of rotation of the shuttlecock and the player's sitting position are linked, so we'll adjust both at the same time.
Sometimes the steering wheel is attached to the car's interior, so you'll have to detach it manually.
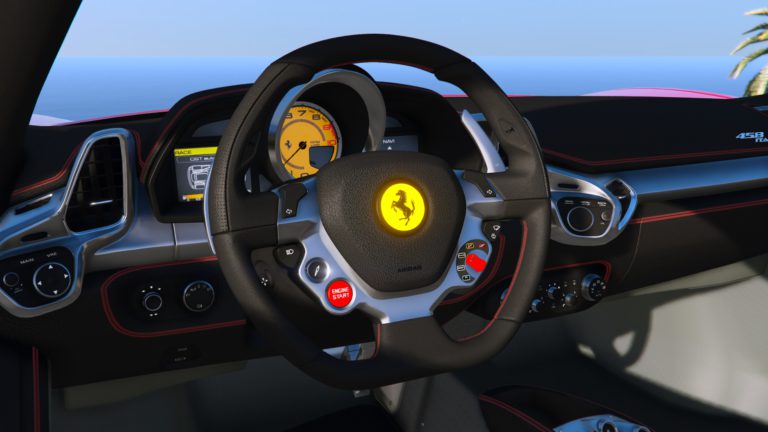
This part of the tutorial is available as a video, which is much simpler than the written word. Everything is explained
On some of your modded vehicles, the steering wheel may be attached to the rest of the car, so you'll need to detach it and fit it in place of the basic steering wheel on a game vehicle.
It's imperative to choose the correct original game vehicle to import into Zmodeler 3 to perform the manipulation, otherwise the hands won't be placed correctly and the character won't be seated in the right position.
The inclination of the shuttlecock is also very important, to ensure a clean spin. Remember also to resize the shuttlecock so that the player's hands are correctly positioned on it.
Move ALWAYS at least the driver's seat dummy at the same time as the component steeringwheel ! The position of the two dummies must remain identical, otherwise the player won't be on axis, the hands won't be on top, and the result won't be clean at all.
Don't forget that it's the dummy on the steering wheel of the game's base vehicle that defines its axis of rotation. If your steering wheel isn't tilted correctly, or is too big/small, then the rotation won't be clean. Some vehicles require " tinker " because by reducing the size of the steering wheel, the car's interior isn't as realistic and clean as it should be.
If you're using the steering wheel and dummy from the driver's seat of another vehicle, it's possible that the player's position isn't correct, so you'll need to edit the " LAYOUT "from the file vehicles.meta "in your DLC or in the files in the " update.rpf Click on the "Set" button to set the layout to that of the vehicle from which you extracted the steeringwheel and driver dummy.
 English
  Français