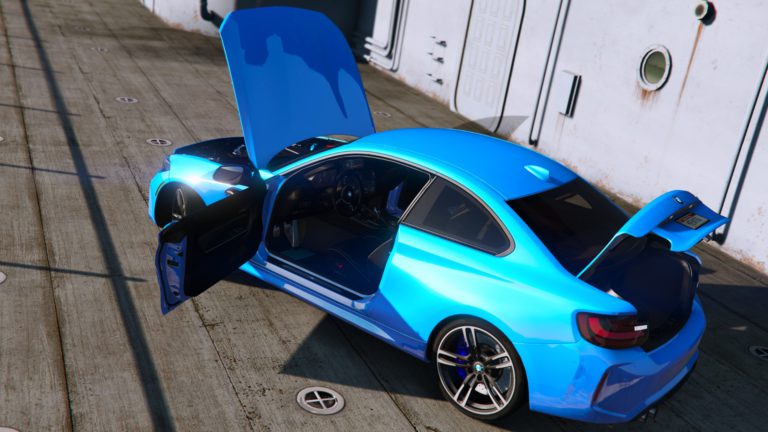
In order for the doors, hood and trunk to open with the in-game animation, certain parameters need to be edited. This parameter also defines the opening angle and collision accompaniment (otherwise you'll fall through the door once it's opened.).
But first you can test the opening angle of an element before programming it directly in Zmodeler 3!

- Check axis Y at bottom left of any view mode :

- Deactivate rotation around the pivot by clicking on the button in the bottom right-hand corner. The button should be grey and the dot black, as in the image below:

- Take the " Rotation "tab. Modify "Take care to set the parameters as shown in the screenshot below:

- Click on the door and this window will appear:

- Enter the value " 72 "then do " Ok " :

- See if you like the result, I do, then go back and close the door (repeat the operation with another value if 72 does not suit you).
- Now deselect the door and isolate it again. Uncheck L0 :

- Go to the " Properties "then edit the parameters Dummy node(s) as shown in the screenshot below, then click on the " " button. Apply " your cube will turn into a green cylinder, as you can see on the left:

- Still in the Properties "double-click on User-Defined options " :

- In the window that appears, enter the four " Options As in the screenshot below, type them in the box at the bottom, then press " ". Add "then click on the box below " Value "to edit it. 72 represents the aperture in degrees we tried just before. If your value is different, use your own:

- Click on " OK "to close the window, then press Apply " :

- Repeat EXACTLY the same procedure for the left rear door (if the opening angle is different from the front door for some reason, enter another angle in the options.).
- Then do the same with the two doors on the right-hand side. ATTENTION change the value " 0,72 "with " -72,0 "window. User-Defined options " (or simply use your own). Otherwise your door will open backwards (in the car).
- We can now move on to the hood. To open it, do exactly what we did for the front-left door, but check the axis. X instead of Y. The value on the following image is 70 degrees :

- As with the door, insulate the hood and uncheck L0 then go to the " Properties " Change the values as shown in the following image:

- Double-click on " User-Defined options "In the window that appears, enter these values as for the doors (attention, put your worth where I put mine 70or in the Option " RotX " ) :

- Click on " OK "to close the window, then press Apply " .
- Try opening the trunk in the same way as the hood, always on the axis X but by entering a negative value (-70 for example).
- Then repeat the same procedure as for the hood with the trunk, but ATTENTION Once again, change the " 0,70 "with " -70,0 "window. User-Defined options " (or simply use your own). Otherwise your safe will open upside down (in the car).
 English
  Français