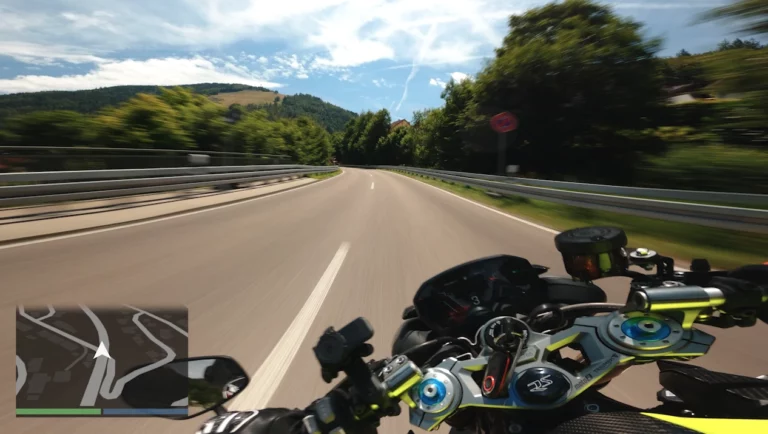
Add GTA V minimap to your videos
- The addition of the GTA V mini-map is possible after you have imported and synchronized your video(s) in Telemetry Overlay.
To do this please follow the instructions on the previous page « Add and customize GPS elements on video " if not already done, up to the title " Add, delete, customize elements" .
Integrate GTA V map into Telemetry Overlay
1: Retrieving my card
To integrate the GTA map into the software and ensure that the GPS point acquired via the GoPro or the SpeedAngle device moves within it, we will use MapBox in its free version. This is a very useful tool for creating fully customized maps for various uses, most often within mobile applications.
To make your work easier, I am providing you with my map, which I created by following the correct color codes from the video game. This way, you can directly add it to your account and use it in your videos.
Here is a preview of the map in question. You can navigate through it anywhere in the world (you’ll be able to do this in full screen from your account for a better experience!). At very low altitude, you’ll even see the points of interest icons, which will also appear on your map in your video!
We will see together how to proceed to add the card to your account (or create one if you do not have one) then integrate it into the software.
Start by opening the link below to retrieve the map.
You will arrive on this page, where you will find the “Copy” button at the bottom right next to “Copy this style to your account”.
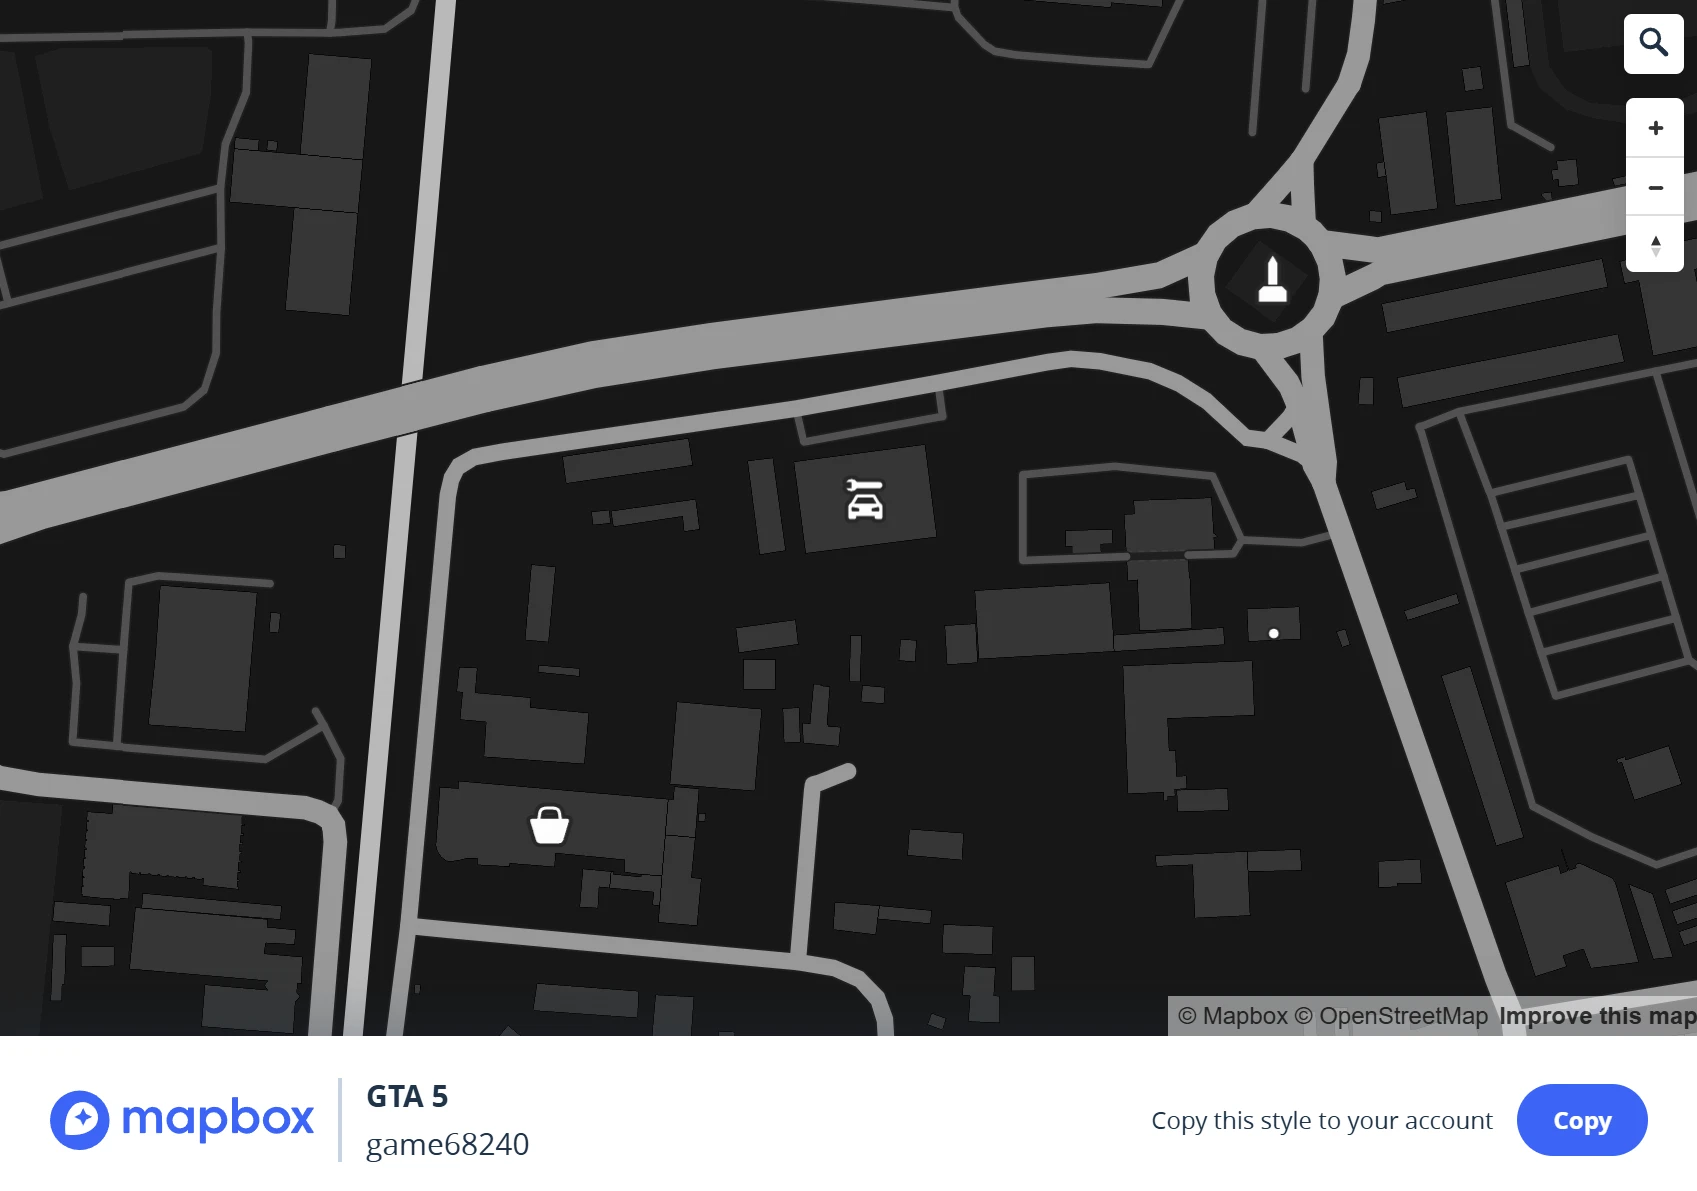
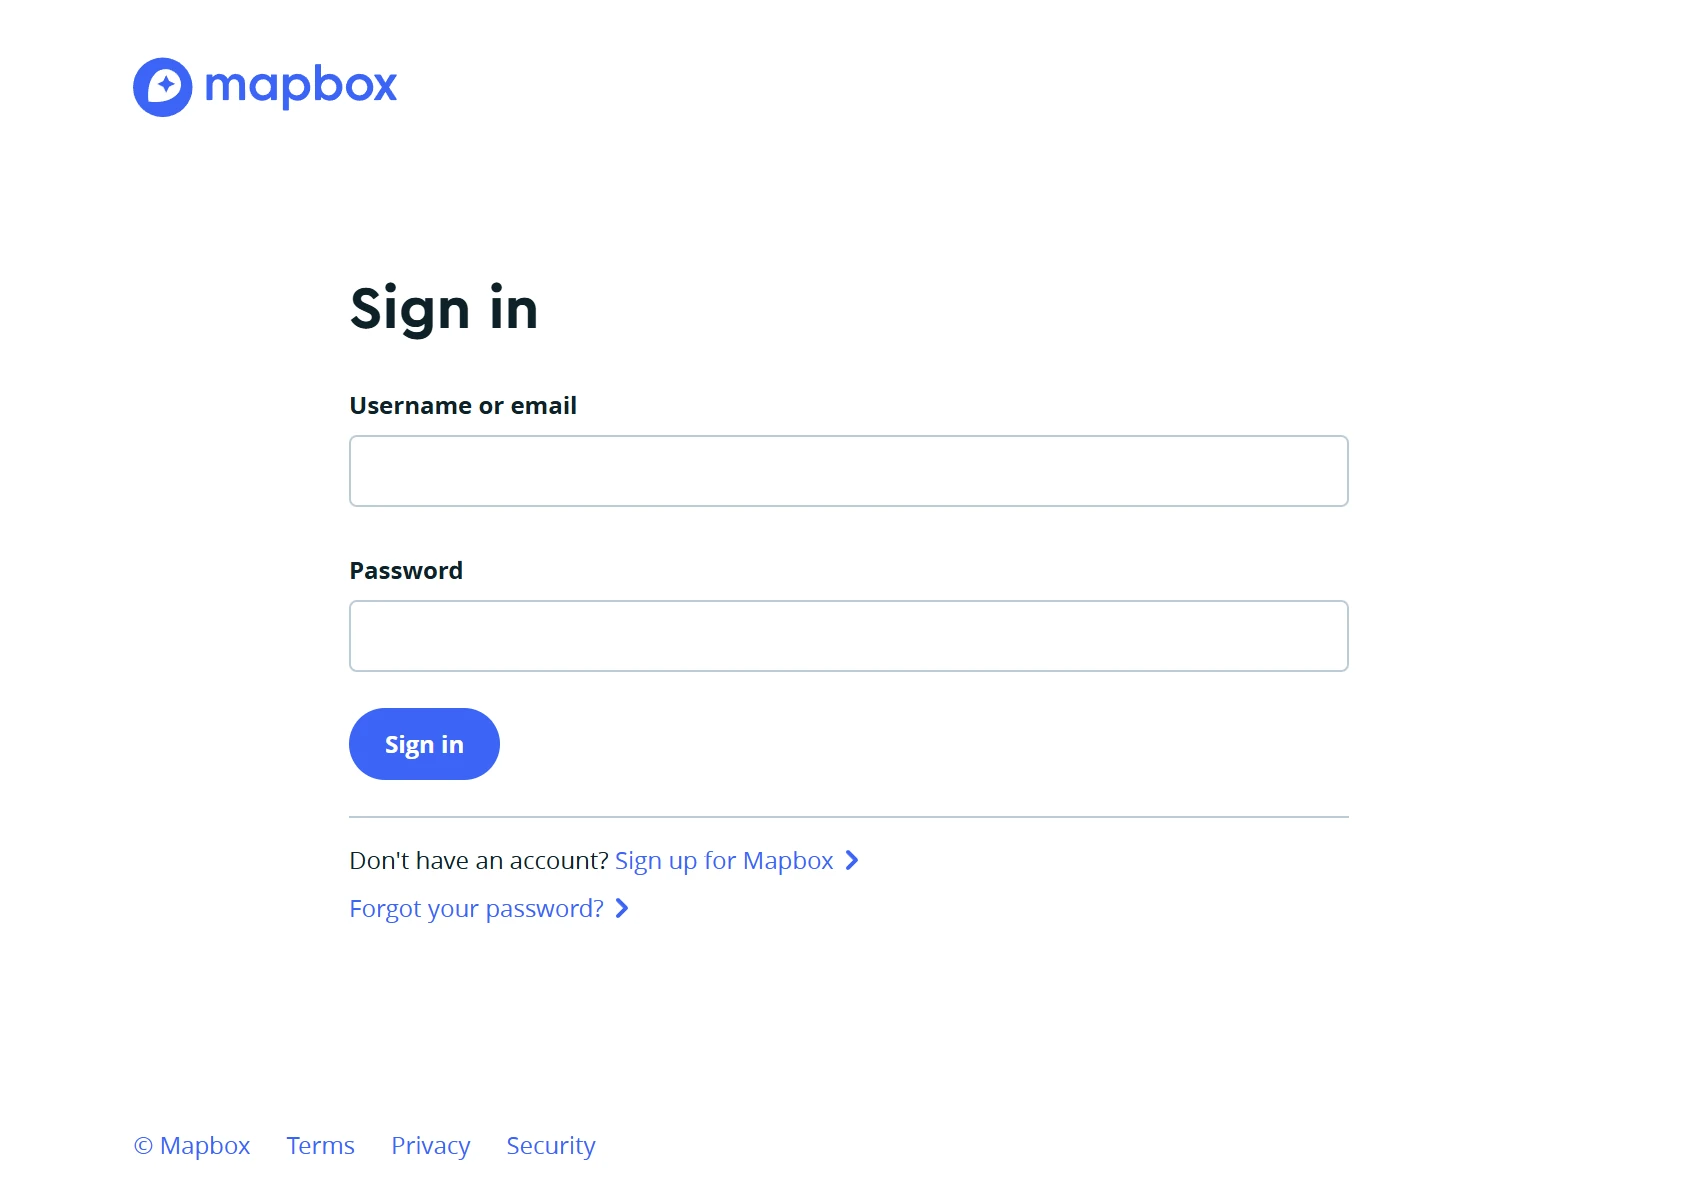
After clicking on “Copy”, you will be prompted to log in. If you don't have an account, click on the “Sign up for Mapbox” button.
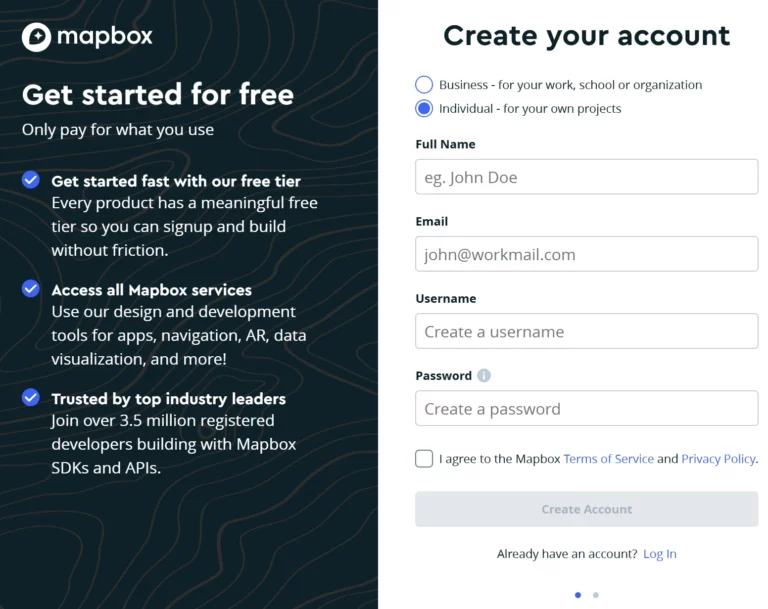
Fill in your information after checking the box “Individual – for your own projects”.
DON'T PANIC IN THE NEXT STEP 🙂
They will now ask you for a credit card, but they will NOT charge you anything.
- Explanation : MapBox service is FREE up to a certain level of use. Beyond that, it becomes chargeable. But don't panic, the free limit is very high since it allows you to charge your card 50,000 times per month ! So unless you plan on riding 50,000 motorcycle rides a month, you won't be NEVER taken (one load = one map opening on the software basically).
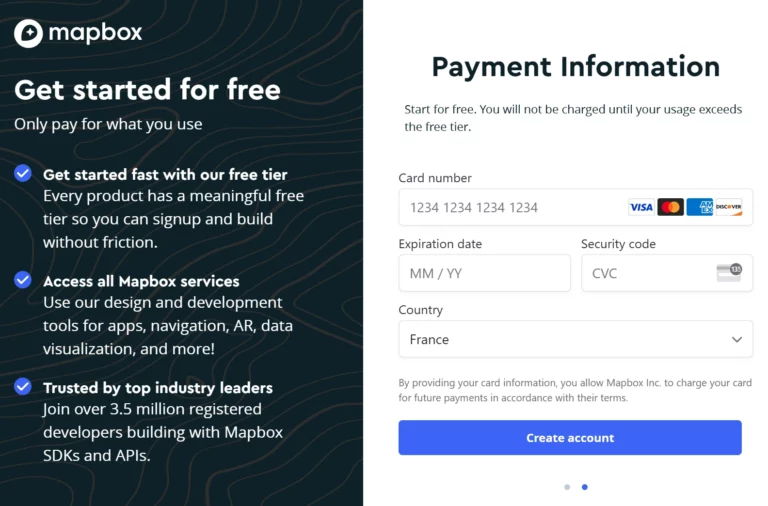
Once all your information is filled out, check your email, and you will then be redirected to the MapBox console.
If the GTA 5 map does not appear here and you have a page similar to the one below, reopen the link to my map and click “Copy” again.
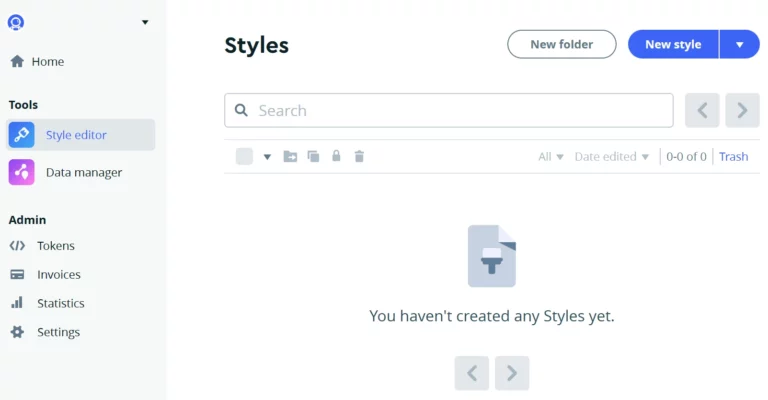
The map will open directly once it is copied. To return to the home page of the console, click on “Styles” at the top left.

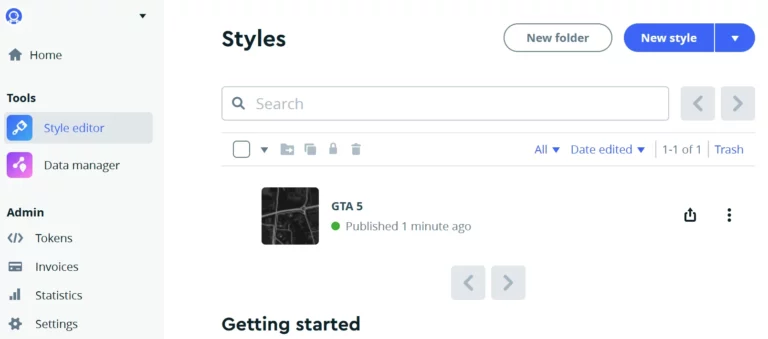
When the card is successfully added to your account you will see it like this on the page:
2: Integrating the map into Telemetry Overlay
Go to the “Tokens” tab. You will find your “Default public token”. Copy it.

Open Telemetry Overlay and go to the settings in the top right.

Go down to the part « MapBox ". In "Username " you go between the username you chose and in "Standard Token" the « Default public token " that you just copied.


Go back to the MapBox console, still in the “Tokens” tab, and click on “Create a token”.

In " Name " give it whatever name you want, "GTA " for example. Then check the box « STYLES:LIST " in "Secret scopes ". Then click at the bottom on « Create token ".
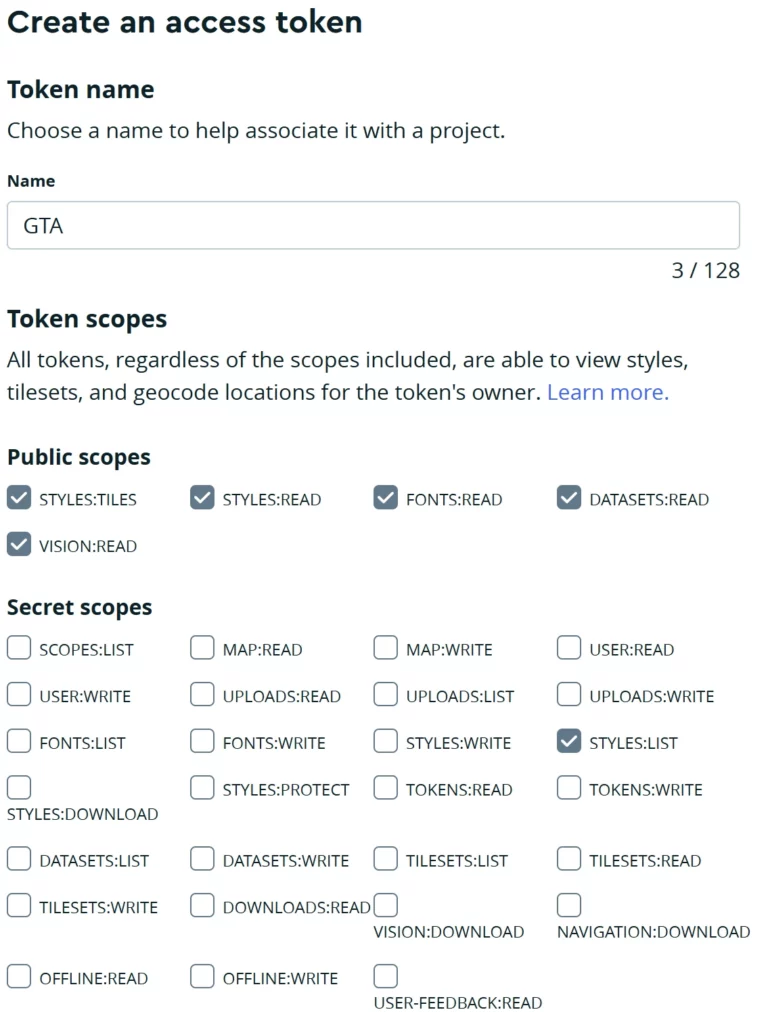
The token will be visible only once, so copy it immediately, then paste it into Telemetry Overlay on the “STYLE:LIST Token” line, next to the one you pasted earlier.
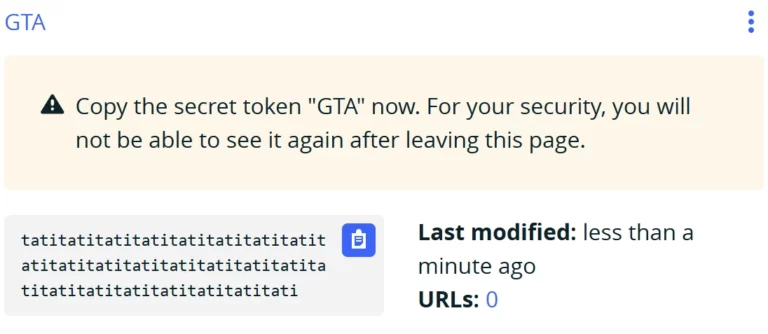

The map configuration in Telemetry Overlay is now complete! We can now integrate our map into our videos.
3: Add the map to your video
After importing and configuring your sequence on Telemetry Overlay as seen previously, download the map pattern already configured below.
Go to the tab « Patterns " then click on "Load pattern ". In the next window check the first two lines if you want to have only the GTA map on your video. If you added other elements, uncheck all the boxes then do « Load " and open the downloaded .toptrn according to your video format (9:16 or 16:9).
The patterns are optimized for videos with a resolution of 2160*3840 for the 9:16 format and 5312*2988 for the 16:9 format.

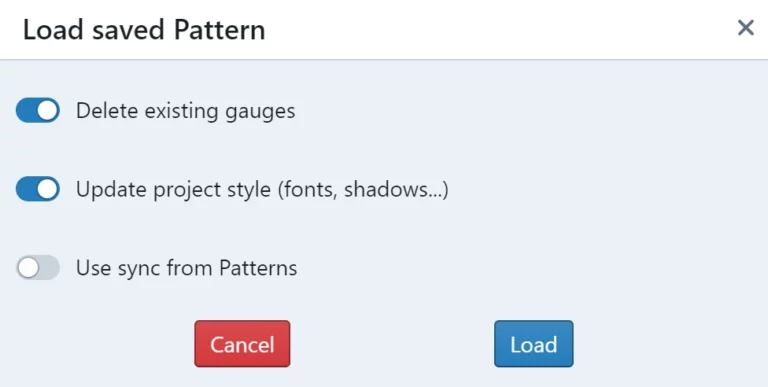
On a portrait video the minimap will be in the top center in a square, on a landscape video it will be in a square in the bottom left as in the game. Do not pay attention to its format, we will crop it later on Premiere Pro and modify its opacity.
By default, the pattern is locked as it is well positioned and properly set. If you wish to modify it, click on “Edit Gauges” and select “Dynamic Map”.
If the map does not appear even after moving on the video, check by editing the Dynamic Map in the tab "Shape " top right, the map « GTA 5 " be selected in the list.
4: Export the map for Premiere Pro
Export the transparent video as shown on the previous page, then import it into Premiere Pro and sync it with your video on the timeline as explained on the previous page as well.
5: Refine the map to make it realistic
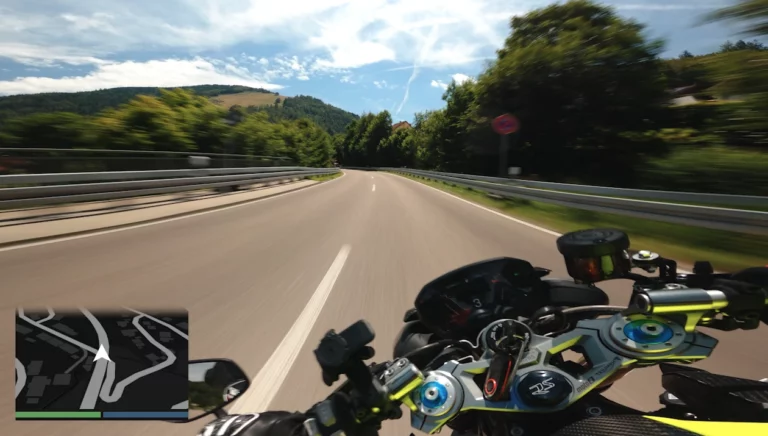
Once your mini-map is added to the software and synced with your video, all that's left to do is crop it to the game's format, add the famous health bar to make it more realistic, and finally adjust the opacity of the entire thing.
Start by dragging and dropping the PNG image “GTA Health” according to your video format, which is found in the .zip file you downloaded earlier containing the patterns, above your GPS video track.
The image is optimized for videos with a resolution of 2160*3840 for the 9:16 format and 5312*2988 for the 16:9 format.
Stretch the image over the entire duration of the GPS track.
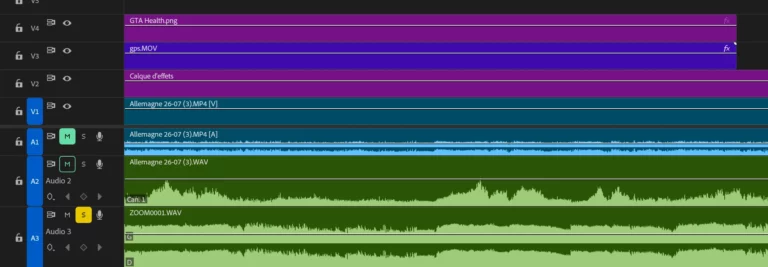
As things are done well, you will see that the life bar overlaps wonderfully in the width of your map!
On the other hand, we still have a square instead of the famous rectangle like in GTA.
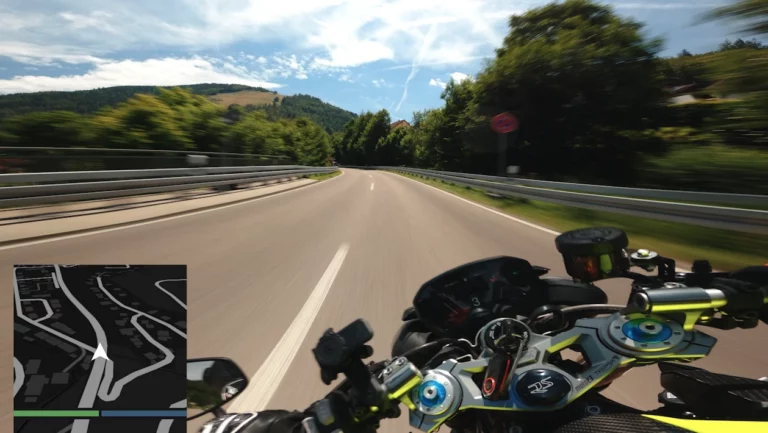
To cut correctly and create a fade on top of the map, select your transparent video and go to the effects options.
In the tab "Opacity " create a rectangle mask on which you will apply a progressive outline of 60.0.
Position it as shown in the screenshot below. To avoid distorting the rectangle, surround the 2 points on the sides or top/bottom, then move one of them. This will automatically move the entire side instead of just the point. After clicking, hold down the Shift key to make linear movements.

Now select the video of the map and the image of the life bar then right click and " Nest ".
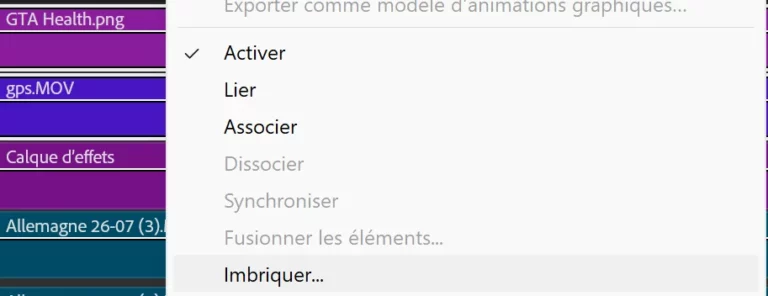
Select the nested sequence you just created, then go to the effects options. Set the opacity to 90 or 95 depending on your preference.

And there you have it! Your map is now similar to the one in the game!
